This article will walk you through adding contacts manually, and formatting your client data correctly so that you can use text message invitations in Anipanion.
![]()
The Text Message Invitation feature can help you contact all of your clients at once to tell them about Anipanion. It is important that the spreadsheet that you upload with your client's data is formatted correctly in order to ensure that messages are sent out to your clients.
Step-by-step instructions for adding a contact manually
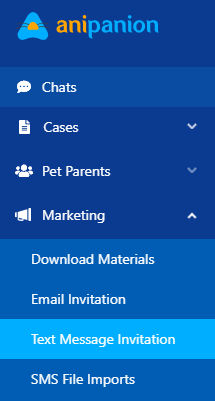
Step 1: Log into Anipanion, open the Marketing tab, then click on the Text Message Invitation page.
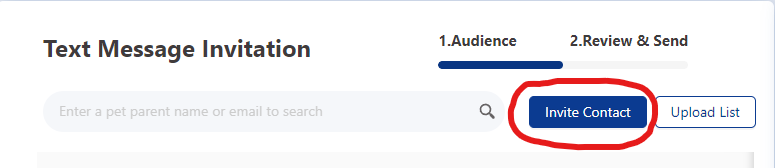
Step 2: Click on Invite Contact.
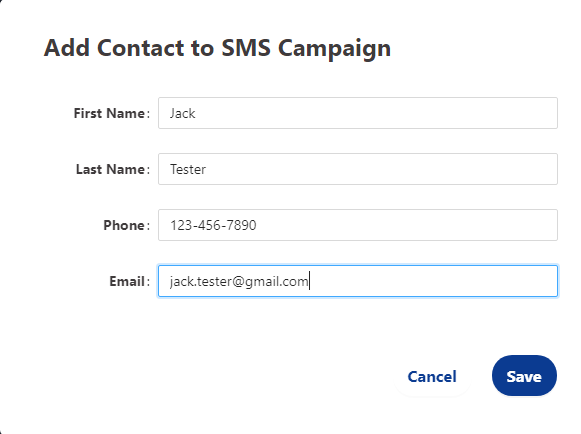
Step 3: Fill in the contact details, then click Save.
Step 4: Optionally, select one of the message templates to send to the contact that was just added, then click OK. If you don't want to send a message to this contact yet, just click Cancel.

Step-by-step instructions for uploading a client data spreadsheet
Step 1: Gather your client data into a spreadsheet. You can use .xlsx, .xls, or .csv file types for this purpose.
Step 2: Arrange your data so that it has columns for the client's first name, client last name, client mobile phone number, and client email.
Step 3: Ensure that all phone numbers are formatted XXX-XXX-XXXX, with no parenthesis around the area code or extra spaces in the number.

IMPORTANT! - If any phone number is not formatted correctly, that contact will not be uploaded successfully for use in the SMS blast feature.
Step 4: Save your spreadsheet. Make sure you know its file location so that you can find it for a later step.
Step 5: Log into Anipanion, open the Marketing tab, then click on the Text Message Invitation page.
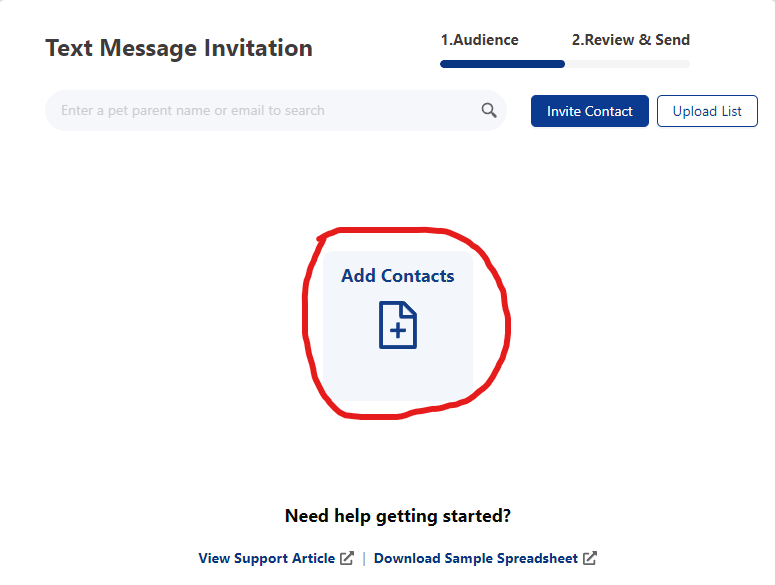
Step 6: Click on Upload List if you see a table with contact information, otherwise you should already be in the right place. Click on Add Contacts.
Step 7: Select your spreadsheet file and click on Open.
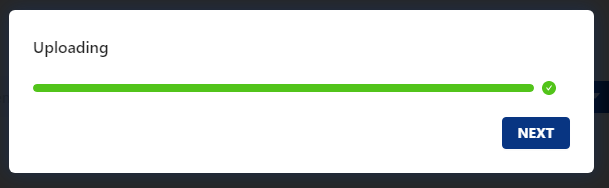
Step 8: If the file upload is successful, the green progress bar will fill and you can click Next to proceed.
Step 9: Use the dropdown lists in the fourth column to match the column headers of your upload file to the property it describes.
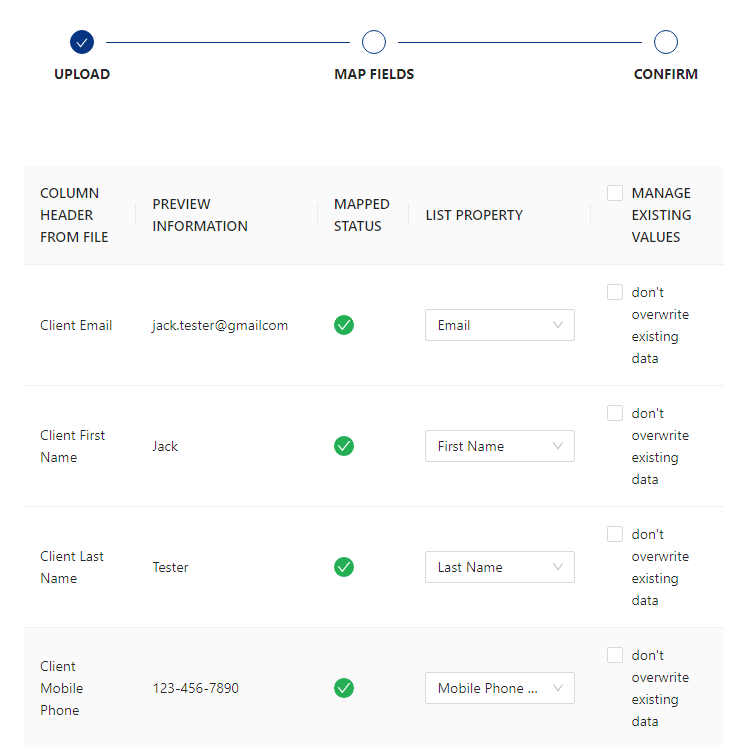
If you are uploading a list to update contacts that you have previously added, you can check the 'don't overwrite existing data' checkbox to stop anything in that column from overwriting the matching property for any contacts that you already have.
Step 10: Confirm the details of your list by checking the boxes on the next page, then click Next to finalize your upload.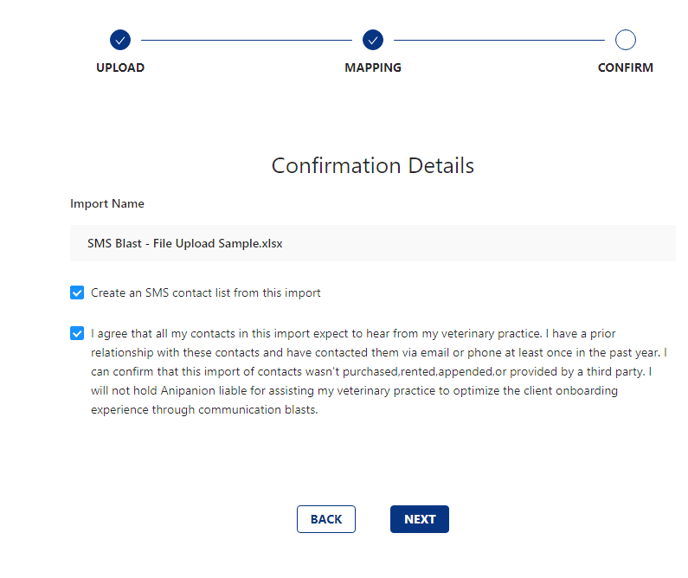
Need some extra support? We're here for you and can't wait to help!
📞/💬 : Phone: ( 858) 208-0018
📩 : Email: support@anipanion.com
👩💻 : Hours: Monday - Friday 9am - 5pm PST