This article will walk you through assigning chat cases automatically and individually assigning staff members to a chat consult.

This feature can be used to triage cases as they come in or to get the opinion of another vet at your practice.
Step-by-Step Instructions - Creating Automatic Case Assignment Rules
Step 1: Log in to the Anipanion Web App.
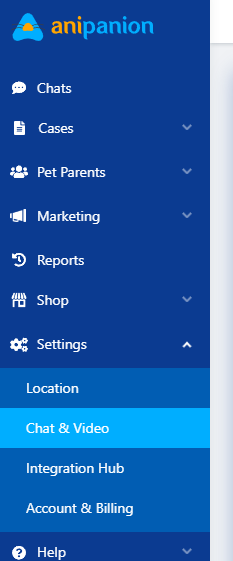
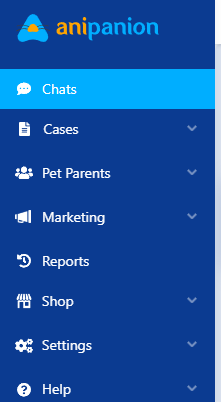
Step 2: Click on Settings in the Navigation Bar, then click on Chat & Video.
Step 3: Scroll down to the Case Assignment section on the right side.
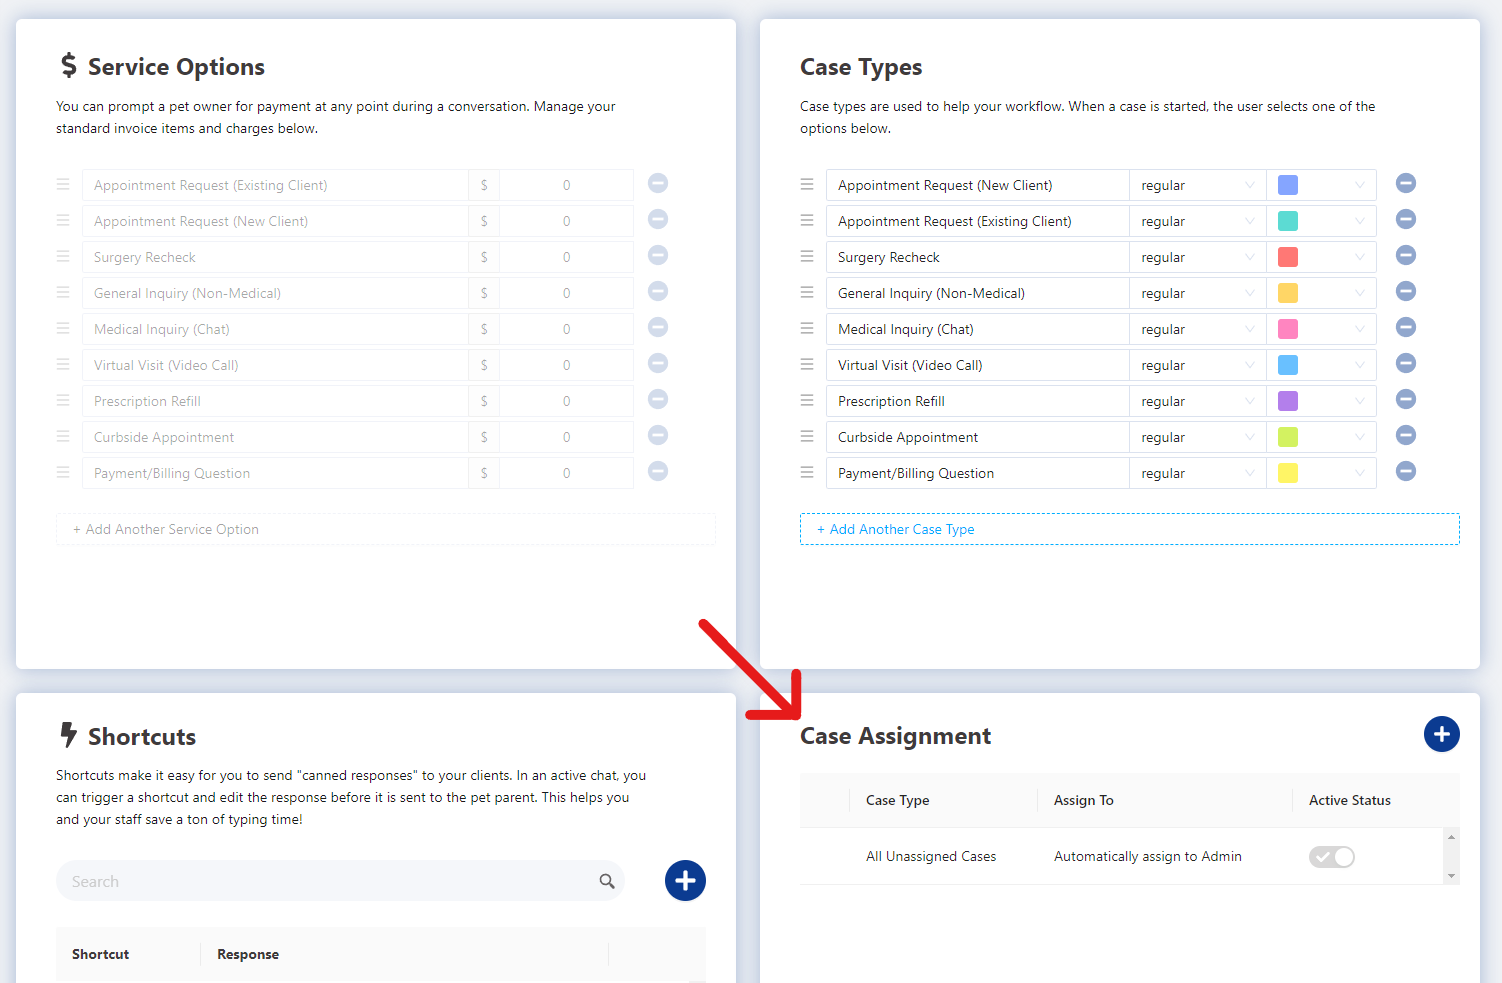
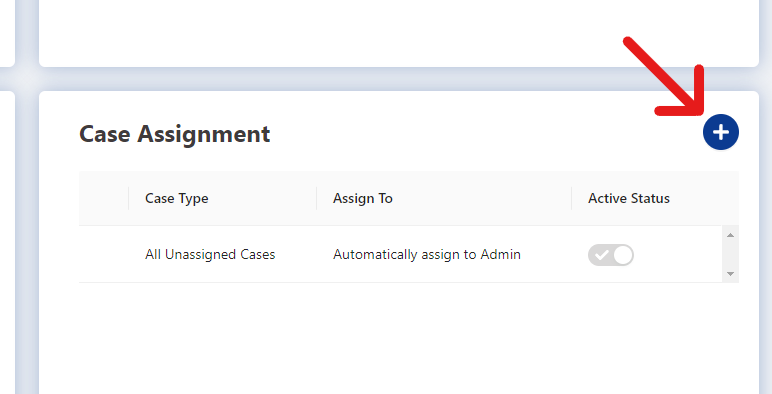
Step 4: Click on the plus sign button in the top right corner of the Case Assignment area.
Step 5: In the modal that pops up, select a case type that you want to make a rule for. These are the options that pet parents choose from when they are starting a chat case.
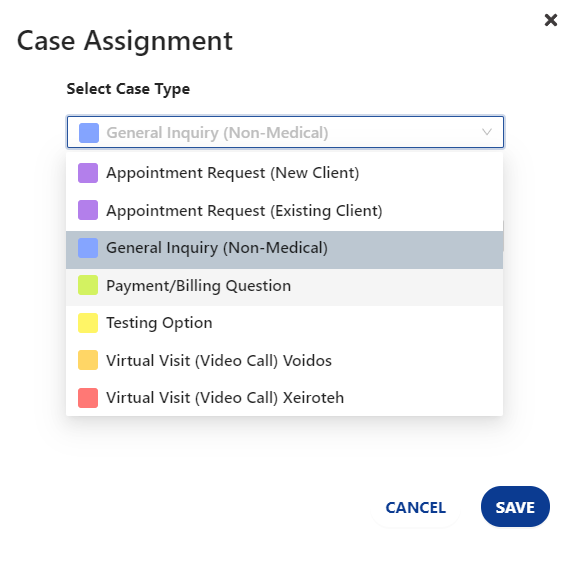
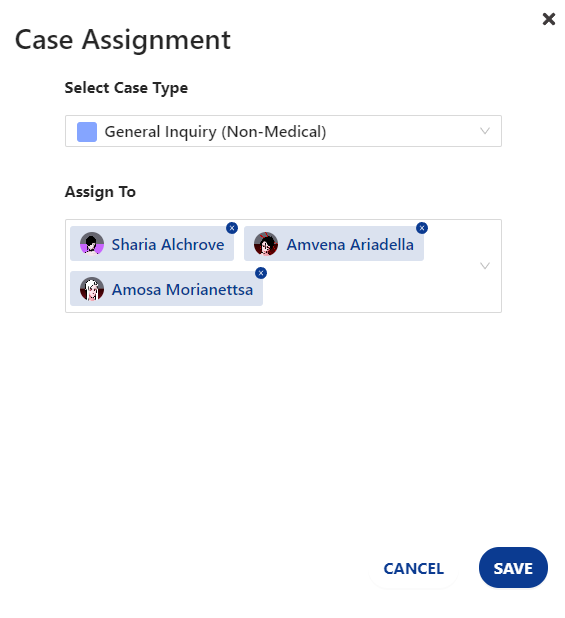
Step 6: Select one or more team members to automatically have cases assigned to them. By default, any case type that does not have a rule associated with it will be assigned to all team members with the admin role.
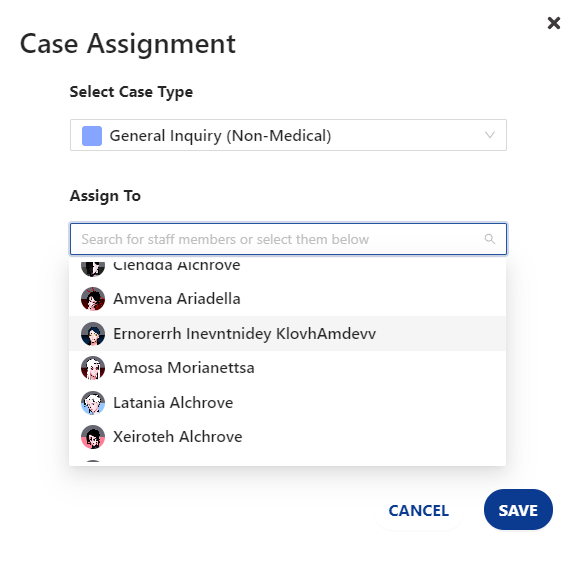
Step 7: Click on Save to finalize the case assignment rule.
Step-by-Step Instructions - Manually Assigning/Removing a Team Member on a Chat
Step 1: Log in to the Anipanion Web App.
Step 2: Click on the Chats tab in the Navigation Bar.
Step 3: Select the chat to which you want to add a team member.
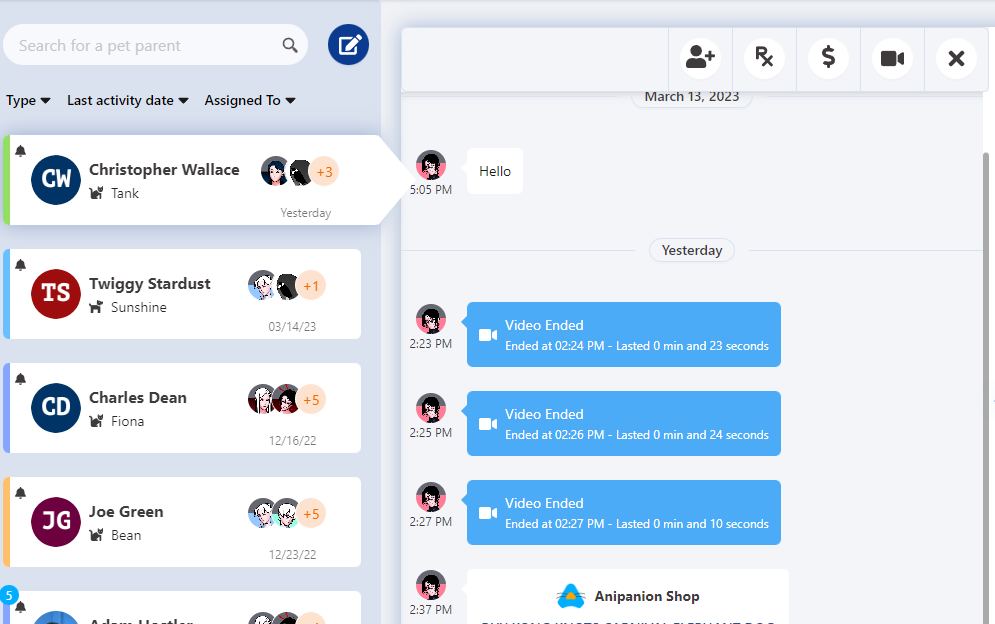
Step 4: Click on the Manage Team button on the action bar at the top of the chat area.

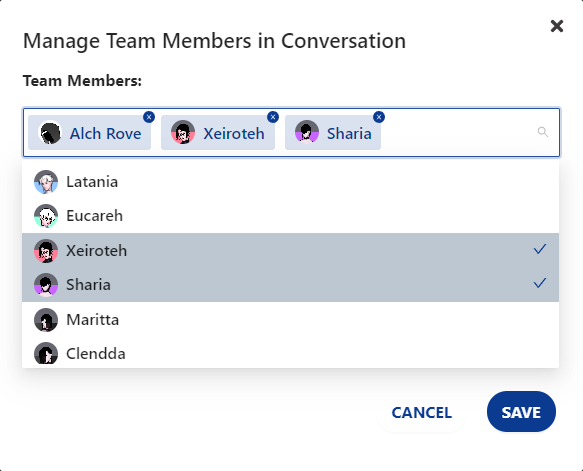
Step 5: Add team members by clicking on any blank part of the box, and then on the name of the team member that you want to add.
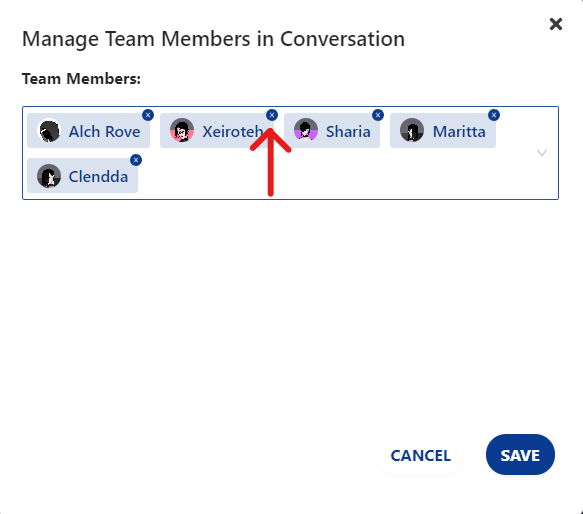
Step 6: Remove team members by clicking the X in the top right corner of their name card.
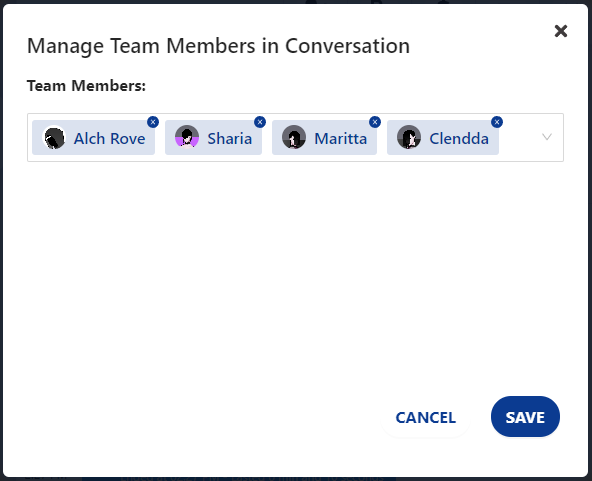
Step 7: When you are finished, click on Save to finalize the team members in this chat.
Need some extra support? We're here for you and can't wait to help!
📞/💬 : Phone: (858) 208-0018
📩 : Email: support@anipanion.com
👩💻 : Hours: Monday - Friday 9am - 5pm PST