This article will walk you through setting up an account with the payment provider Stripe from your Anipanion dashboard.
Step by Step Instructions
Step 1: Log in to the Anipanion Web App.
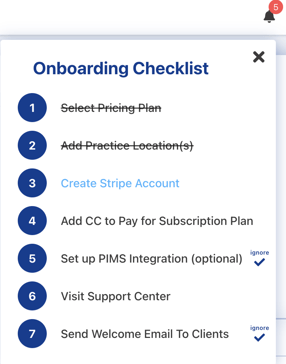
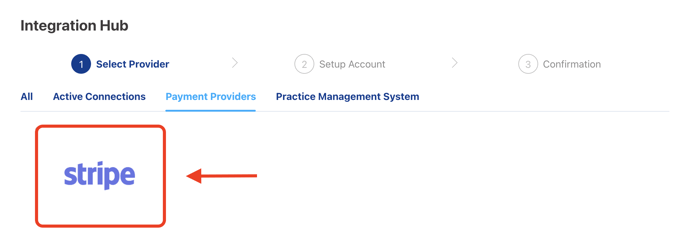
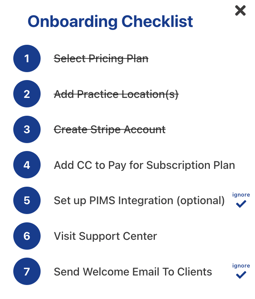
Step 2: Select the Integration Hub tab under the Settings section. You can also click on Create Stripe Account from your Onboarding Checklist.

Step 3: Click on the Stripe card to begin.
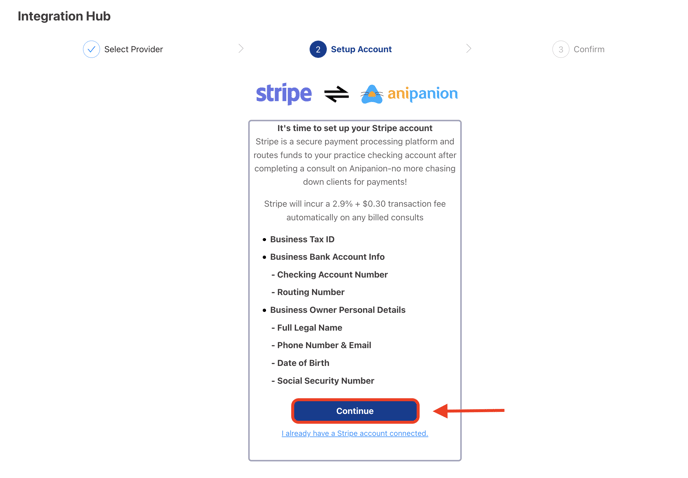
Step 4: Have the following information handy: Business Tax ID, Business Bank Account and Routing Number, Owner's Social Security Number, D.O.B, and Full Legal Name. When you are ready click Continue.
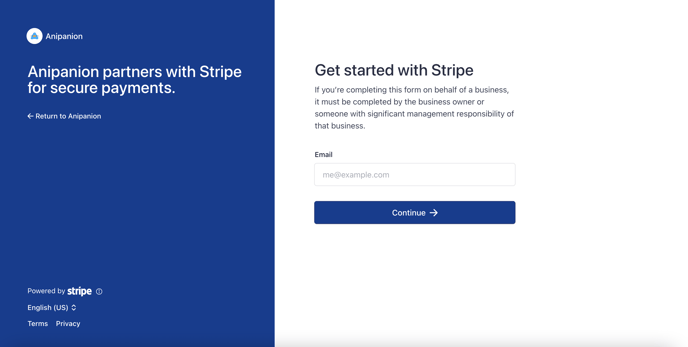
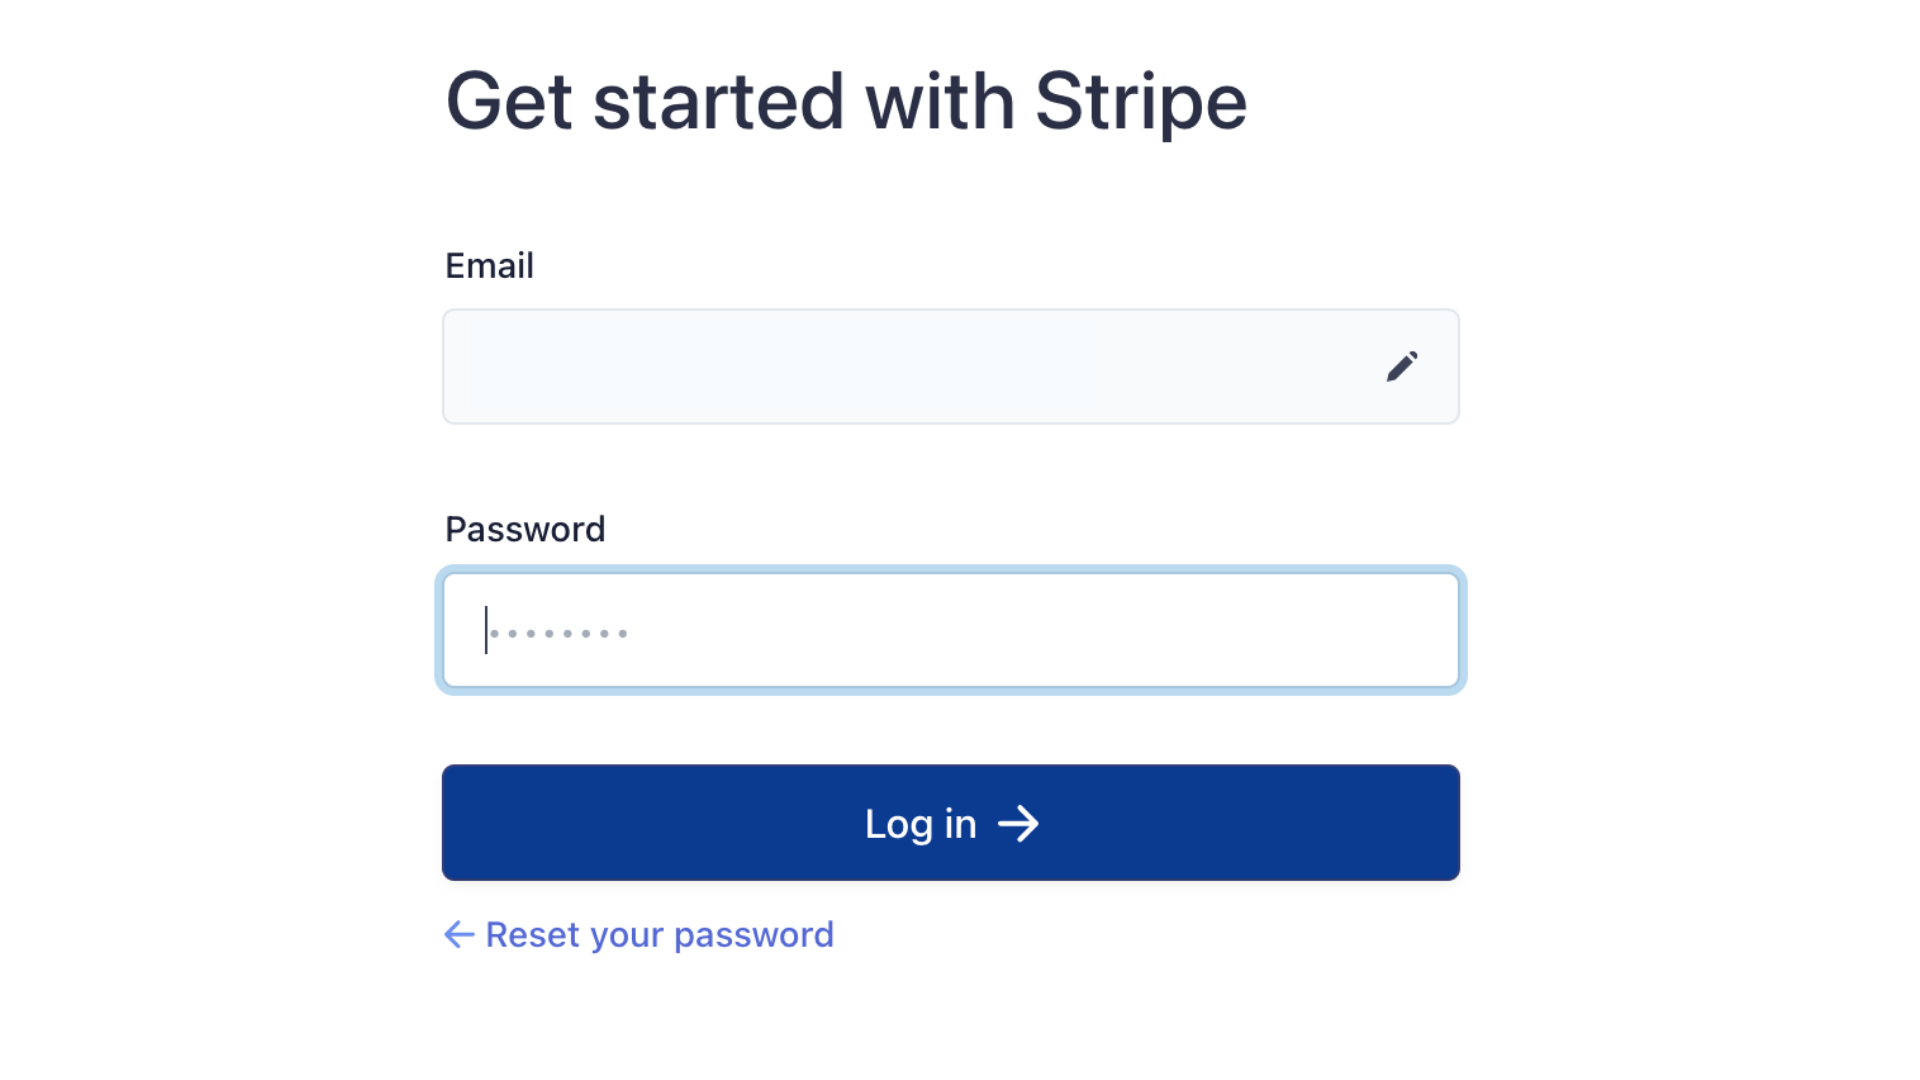
Step 5: Enter your Email Address and click Continue.
Step 6: Configure a Password then click Log in.
Step 7: Secure your account by having a verification code sent via SMS to your mobile number.
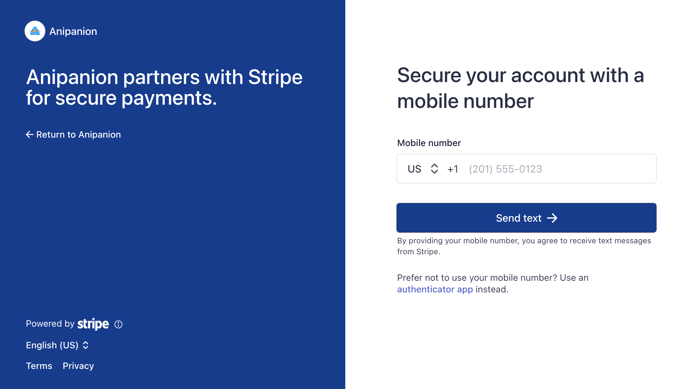
Enter in the verification code sent via SMS to the mobile number provided.

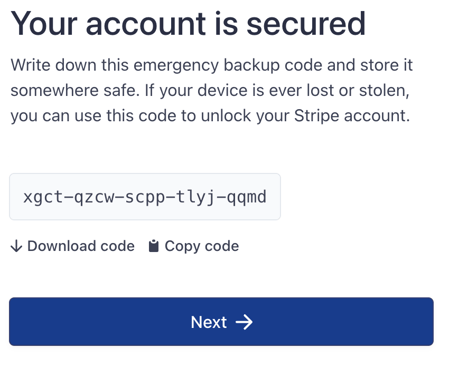
Step 8: You will receive a backup code that you can save for your records. Click Next to continue to fill out the Stripe registration form.
Stripe Registration Form
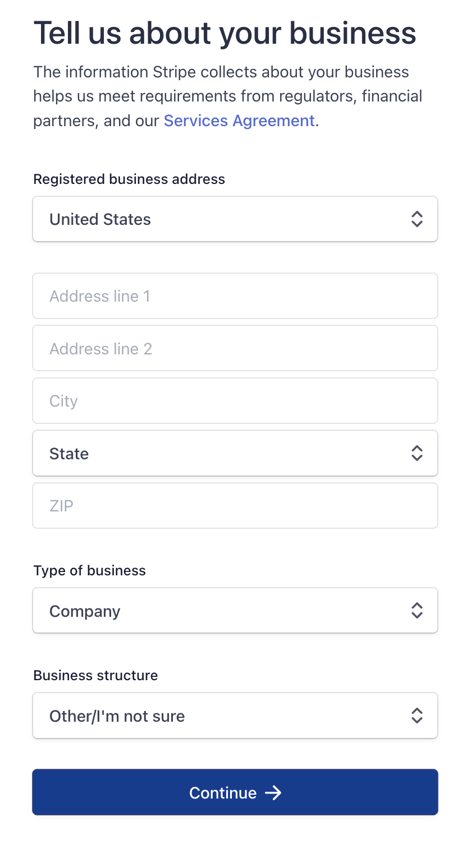
Page 1: Begin to input information such as Business Address, Type of Business, and Business Structure.
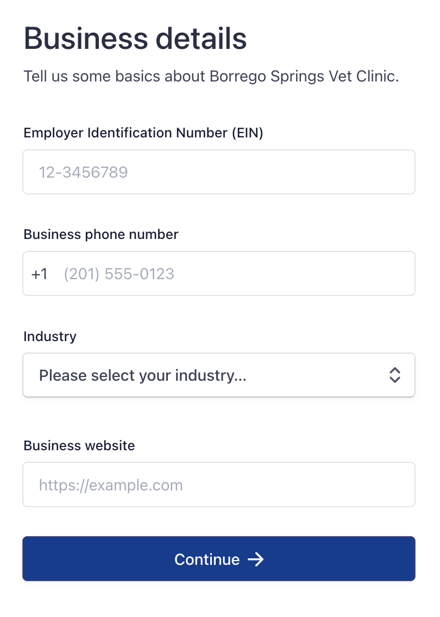
Page 2: Enter in your Business's Employer Identification Number (EIN), Phone Number, Industry, and Website.
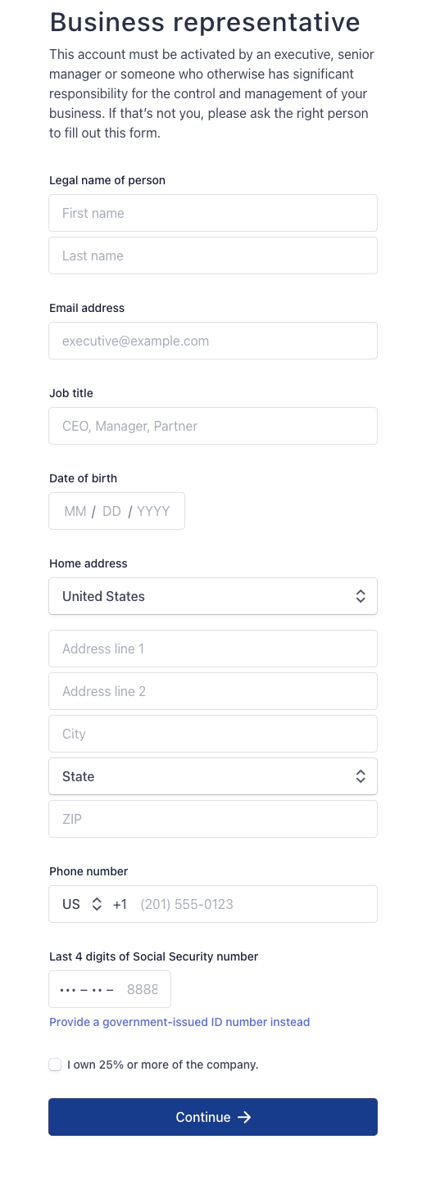
Page 3: Enter Full Legal Name, Email Address, Job Title, D.O.B, Home Address, Phone Number, Last 4 of SSN. When finalized click Continue.
Page 4: Enter the account number and routing number of the business checking account that you would like to receive payouts.

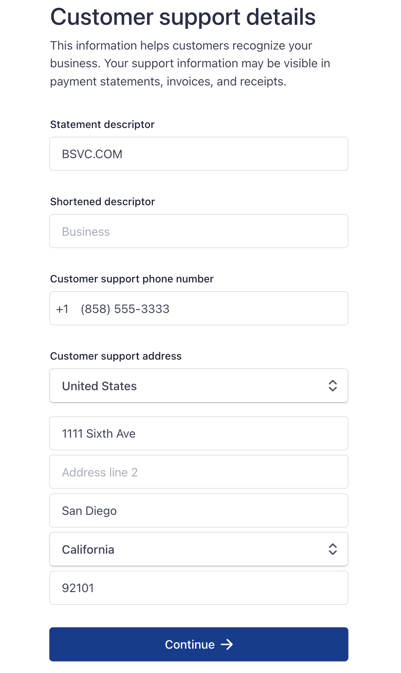
Page 5: Enter Customer Support Details.
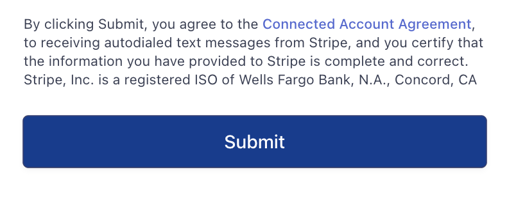
Page 6: Review the details then click Submit.

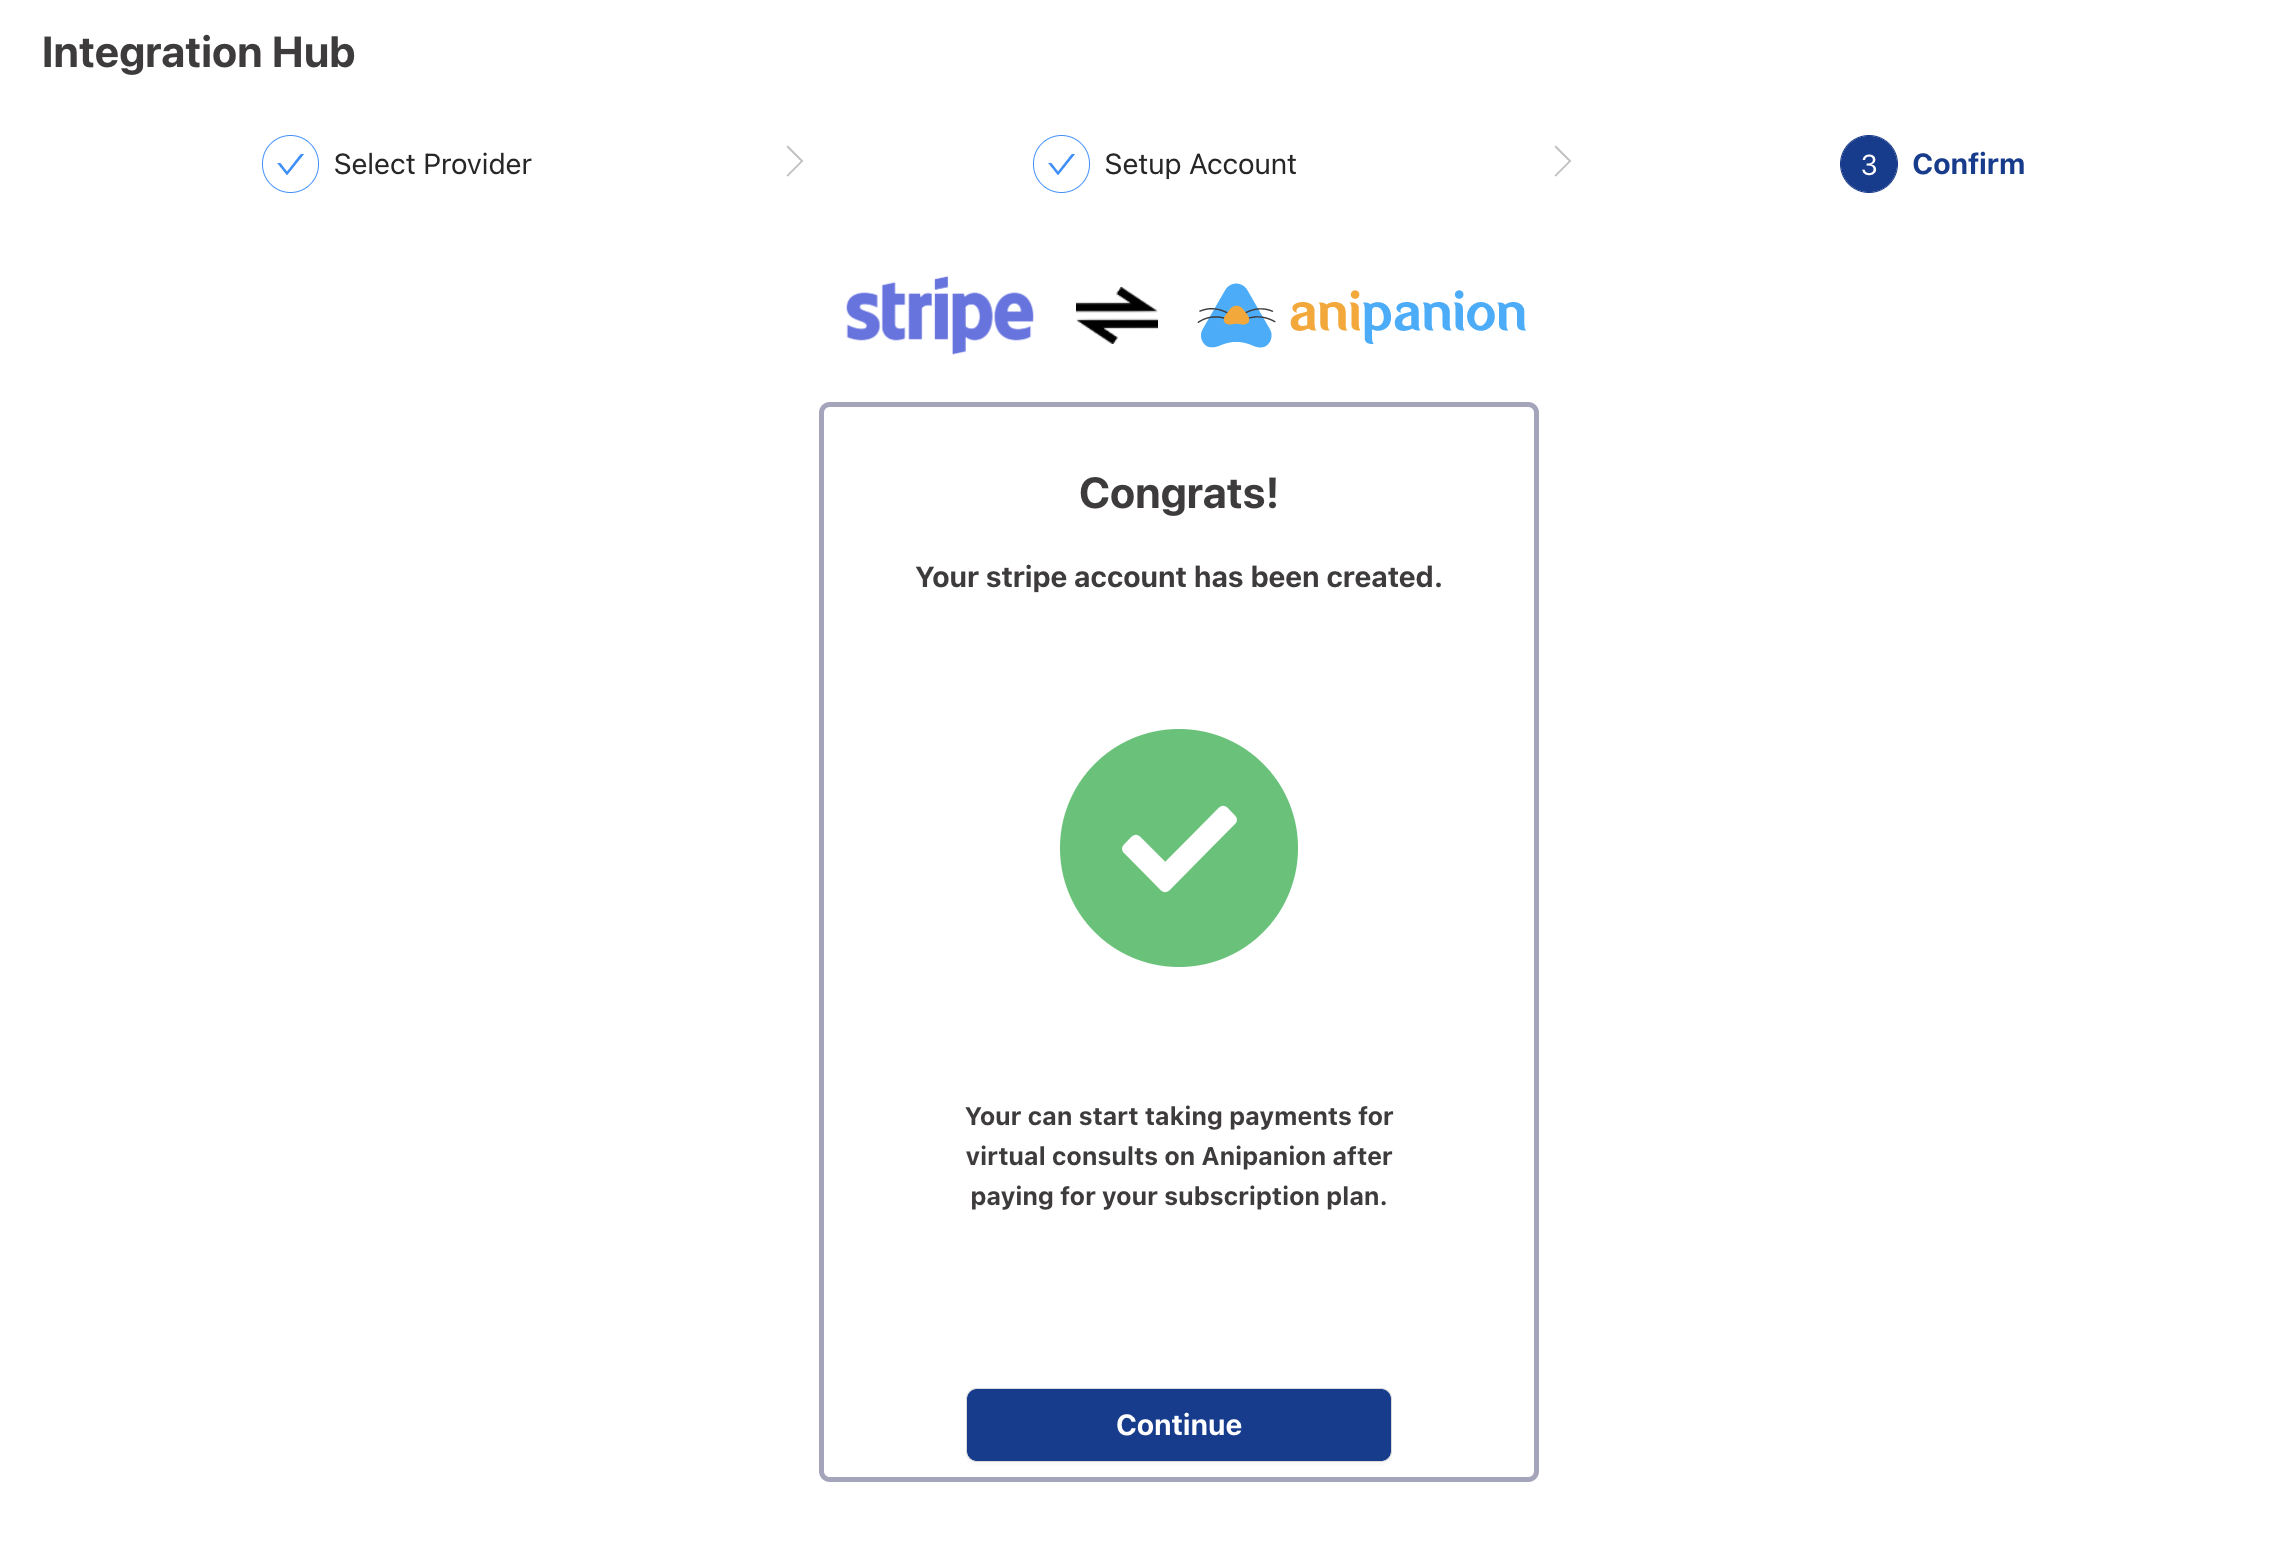
Confirmation
Once you have successfully created your Stripe account, you will receive a confirmation message, the action will be crossed out in your Onboarding Checklist, and the stripe card in the Integration Hub will be marked as Connected.

Need some extra support? We're here for you and can't wait to help!
📞/💬 : Phone: (858) 208-0018
📩 : Email: support@anipanion.com
👩💻 : Hours: Monday - Friday 9am - 5pm PST